 Zapisz
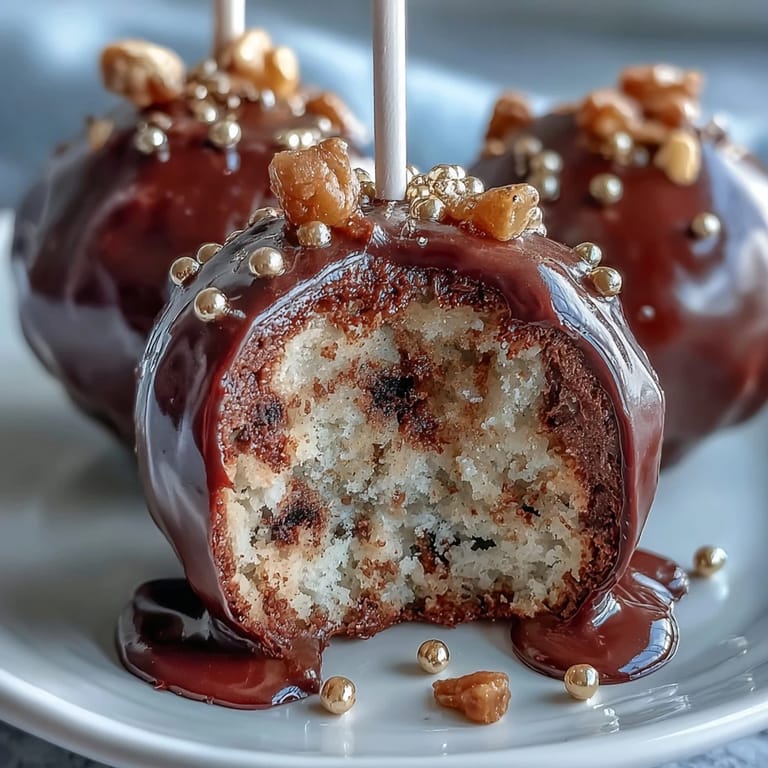
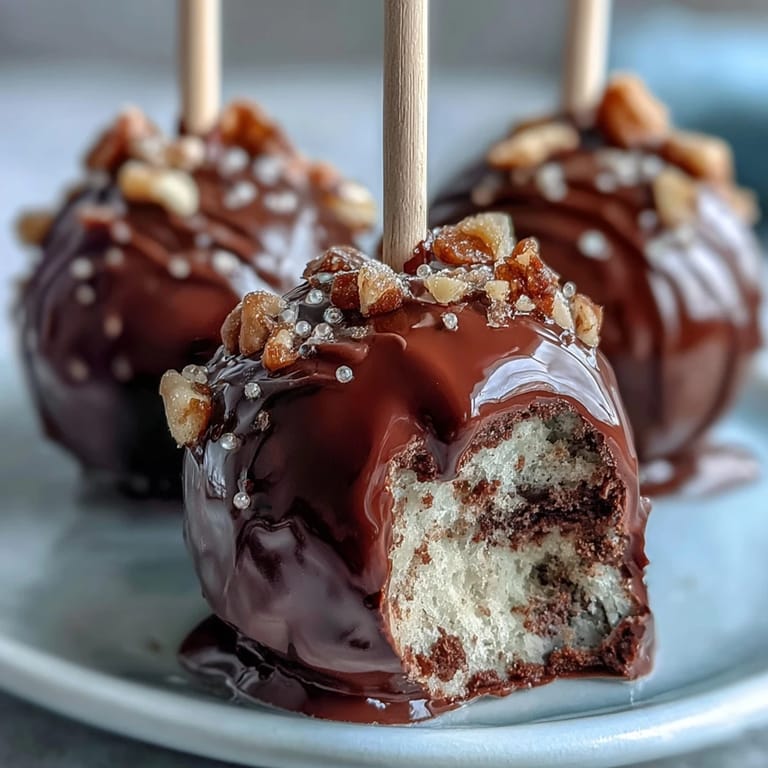
 Last March, my neighbor knocked on my door holding a green napkin and a sheepish grin, asking if I could help her make something "festive but not too serious" for her St. Patrick's Day party. I'd never made cake pops before, but there was something charming about the challenge—turning humble chocolate cake into these little golden treasures felt like the kind of kitchen project that would either be brilliant or hilarious. We spent an afternoon covered in black candy coating, laughing at our clumsy dipping techniques, and somehow managed to create something that looked almost magical. Now whenever someone mentions St. Patrick's Day desserts, these pots of gold are the first thing I think of.
What surprised me most was watching people's faces light up when they bit into one—that little moment of discovering the warm chocolate cake inside the dark candy shell never got old. My friend's daughter declared them "the best thing she'd ever eaten" and requested them for her birthday party the following month, which meant I'd somehow accidentally created a family tradition.
Ingredients
- Chocolate cake mix (1 box, 400 g): Start with a reliable mix rather than fighting it out from scratch—this is where you want convenience on your side so you can focus on the fun decoration part.
- Chocolate frosting (120 g or ½ cup): The binding agent that holds everything together; it's what turns dry crumbs into moldable dough, so don't skip it or try to water it down.
- Black candy melts (400 g or 14 oz): These melt smoothly and set quickly, creating that satisfying snap when you bite into the coating.
- Gold sprinkles or edible gold pearls (48 g or 2 oz): The magic ingredient that makes these feel special—regular sprinkles won't have the same "treasure" vibe.
- Lollipop sticks (24): Choose sturdy ones; flimsy sticks will bend under the weight of the coating and make decorating frustrating.
- White candy melts (50 g or 2 oz, optional): Perfect for piping details or accents if you want to add contrast without overcomplicating things.
- Green fondant or sprinkles (optional): A subtle shamrock touch that ties the theme together without screaming for attention.
Tired of Takeout? 🥡
Get 10 meals you can make faster than delivery arrives. Seriously.
One email. No spam. Unsubscribe anytime.
Instructions
- Bake and cool your cake:
- Follow the box instructions carefully, then let the cake cool completely on a wire rack—warm cake will make your frosting mixture too soft to work with. This is the one moment where patience actually pays off.
- Create the crumb mixture:
- Crumble the cooled cake into a large bowl until it resembles breadcrumbs, then fold in the chocolate frosting until the texture is somewhere between wet sand and cookie dough. You should be able to pinch a piece and have it hold together.
- Roll and shape your pops:
- Scoop tablespoon-sized portions and roll them gently between your palms into balls roughly 1.5 inches across, then flatten the tops just slightly so they resemble little pots. This small detail makes a surprising difference in how they look when finished.
- Chill the cake balls:
- Spread them on a parchment-lined tray and refrigerate for 30 minutes—this prevents them from falling apart when you dip them in hot candy. Think of it as giving them a backbone.
- Prepare your sticks and coating:
- Melt the black candy melts according to package directions, then dip the tip of each lollipop stick into the melted candy before inserting it about halfway into each cake ball. The melted candy acts like glue, anchoring the stick firmly.
- Set the sticks:
- Pop the tray back into the refrigerator for 10 minutes so the candy around the sticks hardens completely. This step prevents your cake pops from spinning or sliding off during the final dip.
- Dip and decorate immediately:
- Working one at a time, fully submerge each cake pop in the black coating, let the excess drip off, then stand it upright in a styrofoam block. The key is speed here—sprinkle the gold decorations onto the wet coating before it sets, or they won't stick properly.
- Add finishing touches:
- Once the black coating is dry, you can pipe a delicate rim around the top edge with white candy melts if you want extra polish, or simply leave them as they are. A single green fondant shamrock pressed gently onto the side completes the St. Patrick's Day theme.
- Final set:
- Leave the finished pops at room temperature for at least an hour so the coating hardens completely before handling.
 Zapisz
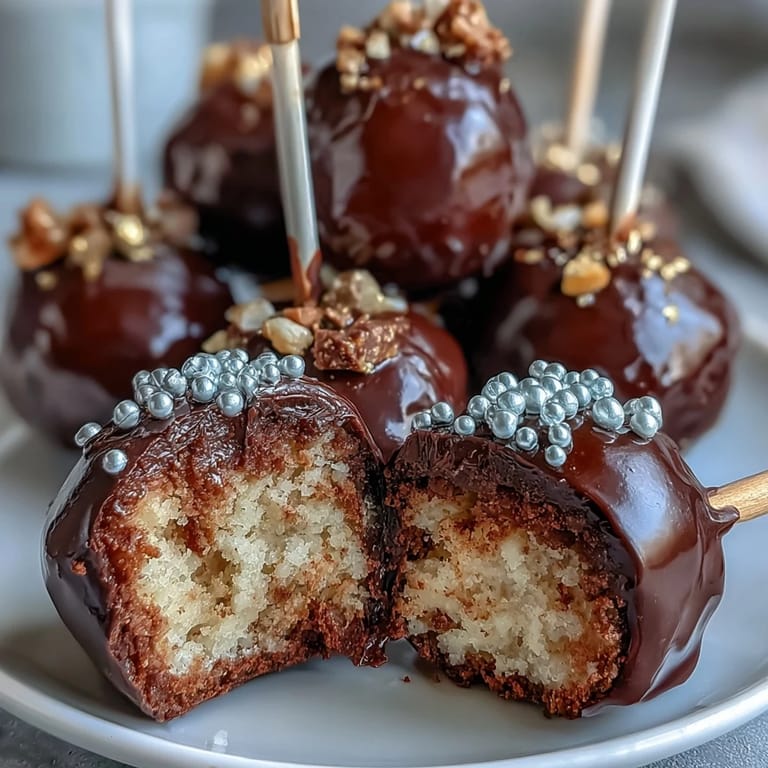
 There was a quiet moment one evening when I pulled a container of these from my fridge and just looked at them for a second—these little glossy black pots with their glittering gold tops—and realized they'd transformed from a casual afternoon project into something I genuinely wanted to make for people I cared about. That's when I knew they'd earned their place in my regular rotation.
The Science Behind the Stick
The trick to preventing your cake pops from sliding off the stick is all about temperature and adhesive contact. When you dip the stick tip in melted candy before inserting it, you're creating a mechanical bond that holds firm once it cools. But here's what I learned the hard way: if your cake ball is too warm, that melted candy will soften on impact, and the stick becomes essentially useless. The refrigeration step isn't just busy work—it's the difference between a sturdy pop and a kitchen disaster.
Timing and Temperature Control
Candy melts are temperamental in ways regular chocolate isn't, and respecting that makes everything smoother. If your melts are too hot, they'll be thin and runny, and your pops will slide off the stick faster than you can steady them. If they're too cool, they'll be thick and chunky, creating an uneven coating. The sweet spot is warm enough to flow smoothly but cool enough to set quickly once you lift the pop out. I've found that checking the temperature with a quick finger test—it should feel pleasantly warm, not hot—is more reliable than watching the clock.
Storage and Make-Ahead Strategy
These cake pops are actually more forgiving than you'd think once they're fully set. Store them in an airtight container at room temperature, and they'll keep beautifully for three days without any decline in texture or appearance. I've even made them two days ahead of a party, which meant I could focus on other things without stress. One unexpected discovery: if you accidentally leave them in a cool room overnight, the coating becomes even more snappy and satisfying to bite into, so don't worry if your timeline shifts.
- If you're making these for a gift, stack them point-down in a tall decorative box lined with tissue paper for maximum impact.
- The black coating camouflages any minor imperfections, so don't stress about your dipping technique being picture-perfect.
- Consider making extra unfrosted cake balls and freezing them for up to a week—you can decorate them whenever the mood strikes.
 Zapisz
 These little pots of gold are proof that the best desserts don't need to be complicated—they just need to bring joy and a touch of whimsy to the table. Make them, share them, and watch people smile.
Najczęściej zadawane pytania dotyczące przepisów
- → Jak uzyskać gładką polewę na kuleczkach?
Kuleczki należy zanurzyć w ciepłej, równomiernie rozpuszczonej czekoladzie i pozwolić nadmiarowi ściec na bokach, by uzyskać gładką powierzchnię.
- → Czy można użyć innej posypki zamiast złotych perełek?
Tak, można zastosować inne jadalne ozdoby, które będą dobrze komponować się wizualnie i smakowo z czekoladą.
- → Jak długo można przechowywać gotowe kuleczki?
Przechowywać je należy w szczelnym pojemniku w temperaturze pokojowej do 3 dni, by zachować świeżość.
- → Czy można przygotować wersję bezglutenową?
Tak, wystarczy użyć mieszanki bezglutenowej oraz upewnić się, że wszystkie dodatki nie zawierają glutenu.
- → Jak dodać zielone akcenty odpowiadające okazji?
Można użyć zielonego lukru plastycznego lub posypek w kształcie koniczyn, które dekorują wierzch kulek.