 Zapisz
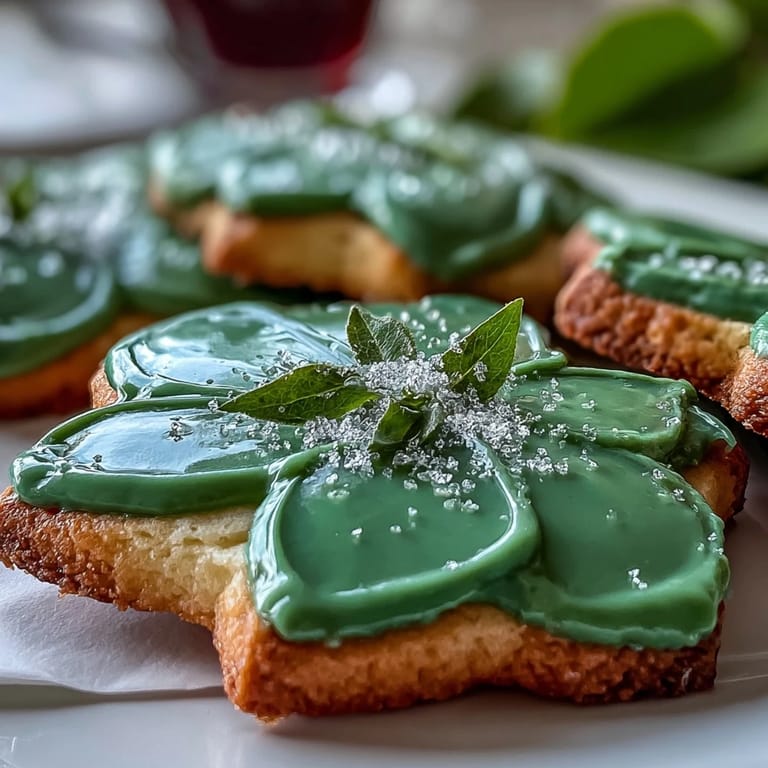
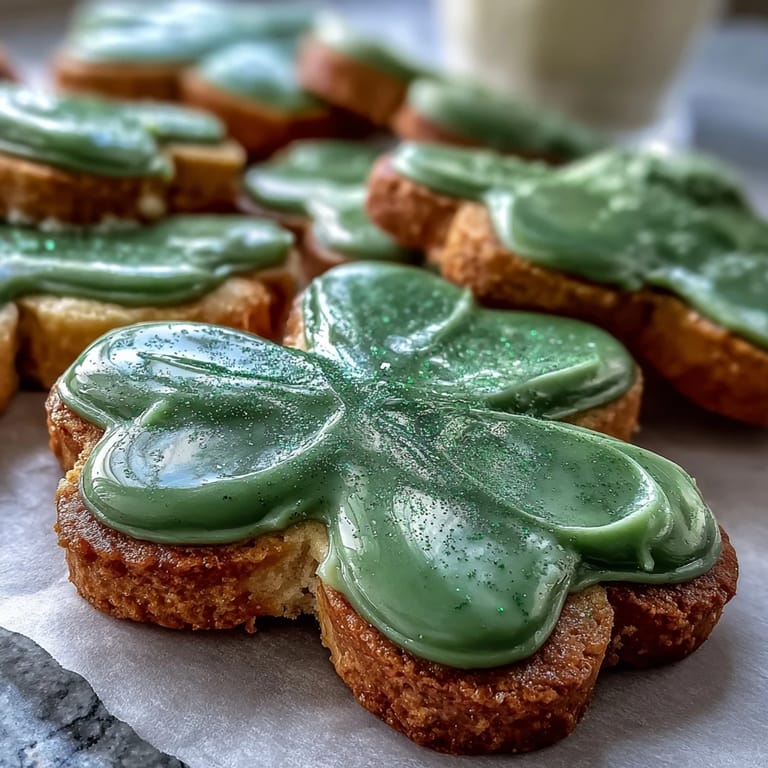
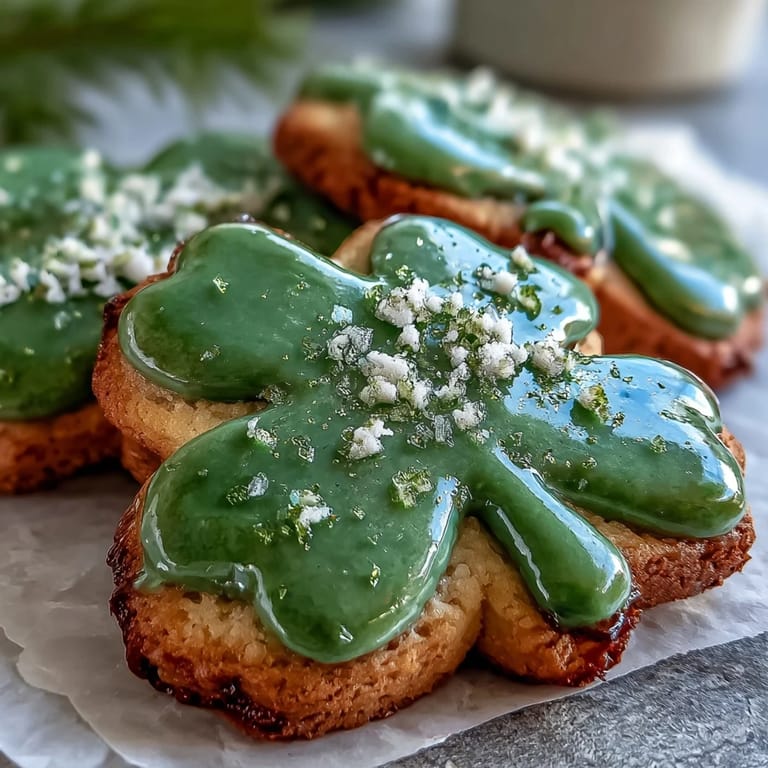
 There's something about St. Patrick's Day that makes me want to fill the kitchen with green treats, and these shamrock cookies were born from a moment of pure impulse. My neighbor stopped by with her kids that March morning, and instead of the usual store-bought decorations, I found myself pulling out the cookie cutters and mixing butter and sugar like it was the most natural thing in the world. Three hours later, the counter was covered in emerald-iced shamrocks, and those kids were convinced they'd found the pot of gold right there in my kitchen.
I'll never forget the quiet focus that fell over my kitchen table when my sister brought her gluten-free friend to help decorate these cookies. We piped and swirled for hours, and there was something meditative about it—the steady squeeze of the piping bag, watching the glossy icing settle into perfect little green pools. By the time we were done, even the imperfect ones looked like they belonged in a bakery window.
Ingredients
- All-purpose flour (2 1/2 cups): The foundation that holds everything together; make sure it's not packed down in the measuring cup, or your cookies will be tough and dense.
- Baking powder (1/2 teaspoon): Just a whisper of lift to keep these cookies tender rather than cakey—don't skip it, even though the amount seems small.
- Salt (1/4 teaspoon): Brings out the butter's sweetness in a way that makes people ask for the recipe without knowing why it tastes so good.
- Unsalted butter (3/4 cup, softened): Room temperature is non-negotiable here; cold butter won't cream properly and you'll end up with dense, tough cookies instead of tender ones.
- Granulated sugar (1 cup): The key to that slight crispness at the edges and soft centers that everyone loves about these cookies.
- Large egg (1): Binds everything and adds richness; bring it to room temperature so it incorporates smoothly into the butter mixture.
- Pure vanilla extract (2 teaspoons): Use the real thing—imitation extract will disappear into the background, and these cookies deserve the good stuff.
- Almond extract (1/2 teaspoon, optional): A tiny amount adds a subtle depth that makes people pause and wonder what makes these taste so special.
- Powdered sugar (3 cups, sifted): For the icing; sifting removes lumps and ensures smooth, glass-like coverage on your cookies.
- Egg whites (2 large) or meringue powder (4 tablespoons) plus water (6 tablespoons): Meringue powder is safer if you're worried about raw eggs, and honestly, it works just as well.
- Vanilla extract or lemon juice (1/2 teaspoon): Lemon juice brightens the icing with a subtle tang that keeps it from tasting one-dimensional.
- Green gel food coloring: Gel coloring creates vibrant green without thinning out the icing like liquid food coloring does.
Tired of Takeout? 🥡
Get 10 meals you can make faster than delivery arrives. Seriously.
One email. No spam. Unsubscribe anytime.
Instructions
- Bring butter to room temperature:
- Cut your butter into chunks and leave it on the counter for about 30 minutes—it should yield to gentle pressure from your finger. Cold butter will fight you during creaming and ruin the entire texture.
- Mix your dry ingredients:
- Whisk flour, baking powder, and salt in a bowl and set aside; this distributes the leavening evenly so you don't end up with random dense pockets in your cookies.
- Cream butter and sugar:
- Beat them together for 2 to 3 minutes until the mixture looks pale, fluffy, and almost mousse-like. This incorporates air and creates that tender crumb everyone raves about.
- Add egg and extracts:
- Mix in the egg, vanilla, and almond extract until everything is combined and the mixture looks smooth and glossy. Don't worry if it looks slightly curdled at first—it will come together.
- Fold in dry ingredients gently:
- Add the flour mixture in two additions, stirring just until you don't see any white streaks. Overmixing develops gluten and makes cookies tough, so resist the urge to beat it to death.
- Chill the dough:
- Divide in half, shape into disks, wrap tightly, and refrigerate for at least an hour. This prevents spreading and gives you those clean, defined shamrock shapes.
- Preheat and prepare:
- Set your oven to 350°F and line baking sheets with parchment paper. This ensures even baking and makes cleanup a dream.
- Roll and cut:
- On a lightly floured surface, roll dough to 1/4-inch thickness and cut out shamrocks. Keep your cuts clean and swift—hesitation leads to torn shapes.
- Bake until golden:
- Bake for 9 to 11 minutes until the edges just begin to turn golden; the centers will still look slightly underbaked, which is exactly what you want. Overbaked cookies become hard and stale within a day.
- Cool properly:
- Let cookies cool on the sheet for 5 minutes, then transfer to a wire rack. This allows them to set without becoming too brittle.
- Prepare royal icing:
- Beat powdered sugar, egg whites or meringue powder mixture, and vanilla or lemon juice until stiff peaks form and the icing is glossy. It should be thick enough to hold its shape but thin enough to flow slightly when piped.
- Color and pipe:
- Divide icing, tint green with gel coloring, and transfer to piping bags fitted with small round tips. Pipe outlines first, then flood the centers, letting the icing settle naturally into the shamrock shapes.
- Set and finish:
- Let icing dry for at least an hour before serving or stacking. If you want sparkle, add sprinkles or edible glitter while the icing is still slightly wet.
 Zapisz
 I remember standing in my kitchen at midnight the night before St. Patrick's Day, finally done decorating what felt like hundreds of shamrocks, and my hands were tired but happy. When my mother came downstairs the next morning and saw them lined up on the counter, she just smiled and said they were too pretty to eat—then promptly ate three.
The Magic of Royal Icing
Royal icing was intimidating to me at first—all that talk about stiff peaks and the right consistency felt like pastry school territory. But one afternoon, it just clicked: the icing is really just a matter of patience and beating until your arm gets tired. Once you've made it once and seen that magical transformation from soupy to glossy to thick, you'll never be afraid of it again.
Timing and Storage Secrets
The best part about these cookies is that absolutely nothing needs to happen all at once. You can bake them days ahead, store them in an airtight container, and ice them whenever inspiration strikes. I've learned that making royal icing the night before actually works better—it's been sitting, thinking about things, and flows more beautifully when you pipe it the next day.
Making Them Your Own
These shamrocks are a blank canvas, and half the fun is experimenting with different icing shades, sprinkles, or even adding edible gold dust for extra fancy moments. I've made them pale mint green for a subtle look, deep forest green for drama, and even white with green outlines when I wanted something more elegant. The shape is fixed, but the personality is entirely up to you.
- Try swirling different shades of green together for an ombré effect that looks far more complicated than it actually is.
- A tiny pinch of almond extract in the dough makes these taste almost like marzipan-adjacent, which is wonderful if your crowd loves that flavor.
- Make sure every cookie is completely cool before icing, or the icing will melt and slide right off, leaving you frustrated and sticky.
 Zapisz
 These shamrock cookies have become my favorite reason to celebrate St. Patrick's Day, and I hope they become yours too. There's nothing quite like the smile on someone's face when they bite into a beautiful cookie that tastes as good as it looks.
Najczęściej zadawane pytania dotyczące przepisów
- → Jakie składniki zapewniają maślany smak ciastek?
Maślany smak pochodzi głównie z miękkiego masła użytego w cieście oraz dodatku wanilii i opcjonalnego ekstraktu migdałowego.
- → Jak przygotować gładki lukier królewski do dekoracji?
Łączy się cukier puder z białkami jaj lub proszkiem bezowym oraz odrobiną soków cytrusowych, ubijając do uzyskania sztywnych, błyszczących szczytów.
- → Czy ciastka można przygotować wcześniej i jak je przechowywać?
Ciasto warto schłodzić przed wałkowaniem, a gotowe ciastka po lukrowaniu przechowywać w szczelnych pojemnikach w temperaturze pokojowej do 2 dni.
- → Jak uzyskać intensywny zielony kolor lukru?
Do lukru dodajemy żelowy barwnik spożywczy w kolorze zielonym, który pozwala uzyskać nasycony i trwały kolor bez rozcieńczania lukru.
- → Czy można pominąć ekstrakt migdałowy w cieście?
Tak, ekstrakt migdałowy jest opcjonalny i można go pominąć, zwłaszcza w przypadku alergii na orzechy.