 Zapisz
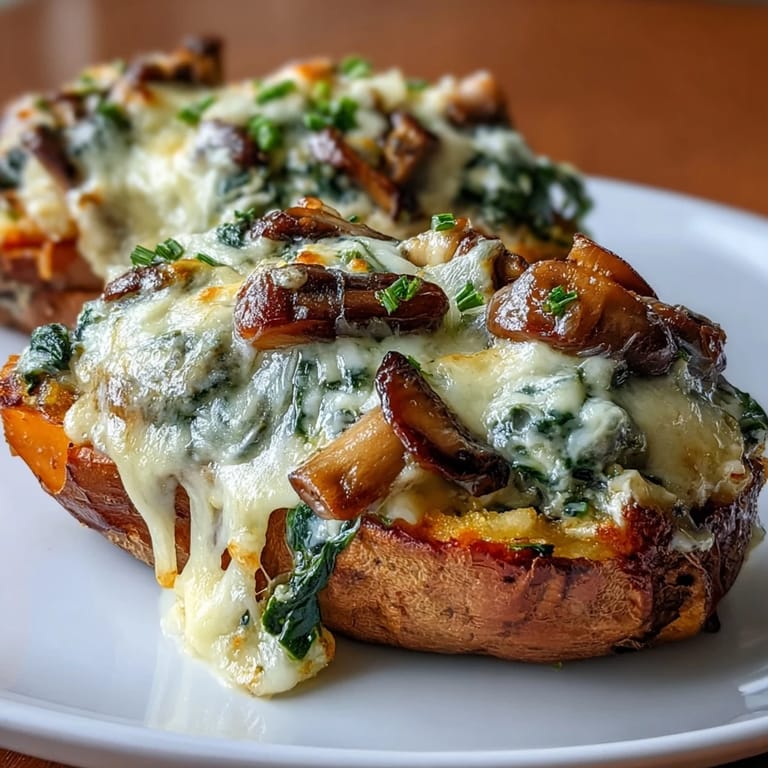
 There's something magical about the moment when you cut into a roasted sweet potato and steam rises up, carrying that earthy sweetness into your kitchen. I stumbled onto this stuffed potato idea on a random Wednesday when I had cream cheese that needed using and a handful of mushrooms going soft in the crisper drawer. What started as kitchen improvisation became something I now make regularly, because it hits that rare sweet spot between comfort food and actually good for you.
I made these for my sister last spring when she was going through a phase of trying to eat less meat, and she asked for the recipe before dessert was even cleared. Now it's become her go-to when she meal preps for the week, which tells you something about how satisfying these actually are despite having no chicken or beef in sight.
Ingredients
- Sweet Potatoes: Medium ones (about 300g each) are your sweet spot—large enough to hold filling generously, but they'll actually cook through in an hour without drying out the edges.
- Olive Oil: Don't skip this or use something flavorless; the two teaspoons will be your cooking fat and it matters for developing that garlic-mushroom base.
- Garlic: Two cloves minced, not pressed—pressing releases too much liquid and you'll end up with a watery filling.
- Mushrooms: Button or cremini work beautifully; they release moisture as they cook, which actually seasons the filling, so don't drain them off like some recipes say.
- Fresh Spinach: One cup (30g) wilts down to almost nothing, but that's the point—it adds color, nutrition, and a gentle earthiness.
- Cream Cheese: Softened at room temperature makes mixing effortless and keeps lumps from forming in your filling.
- Shredded Cheese: Mozzarella melts beautifully smooth, but cheddar gives you more personality and tang if you prefer.
- Salt and Pepper: Taste as you go—sweet potatoes are already seasoned by nature, so you need less than you'd think.
Tired of Takeout? 🥡
Get 10 meals you can make faster than delivery arrives. Seriously.
One email. No spam. Unsubscribe anytime.
Instructions
- Heat Your Oven and Prep the Sweet Potatoes:
- Set your oven to 400°F (200°C). Wash the sweet potatoes under cold water, then use a fork to pierce each one several times—this lets steam escape evenly so they don't burst. Place them directly on the oven rack (no baking sheet needed, though you can use one if you're worried about drips) and let them roast for 45 to 60 minutes.
- Start Your Filling While Potatoes Roast:
- Heat olive oil in a skillet over medium heat—you want it hot enough that a piece of garlic sizzles immediately when it hits the pan. Add your minced garlic and listen for that papery, whisper-quiet sizzle; it'll only take about a minute before it smells incredible.
- Cook the Mushrooms Until Golden:
- Add your diced mushrooms and stir occasionally for 5 to 7 minutes. You'll notice liquid pooling at the bottom of the pan—that's normal and good, it means the mushrooms are releasing their own flavor. Keep stirring until that liquid mostly evaporates and the pieces start to turn golden and slightly crispy at the edges.
- Wilt in the Spinach:
- Dump in your fresh spinach and stir constantly—it'll go from vibrant green to dark and wilted in about a minute, sometimes less. Once it's completely soft, pull the pan off the heat.
- Build Your Filling:
- In a mixing bowl, combine your cooked mushroom mixture with softened cream cheese and half of your shredded cheese. Season generously with salt and pepper, tasting as you go—the filling should taste bold and almost over-seasoned at this stage.
- Prepare the Sweet Potato Vessels:
- Your sweet potatoes should be tender enough that a knife slides through easily. Let them cool just long enough to handle, then slice each one open lengthwise. Gently scoop out some of the flesh, leaving about half an inch of potato lining the skin so it holds its shape.
- Mix Scooped Potato Into the Filling:
- Mash the potato you scooped out and fold it into your mushroom-cheese mixture—this adds body and sweetness that ties everything together.
- Stuff and Top:
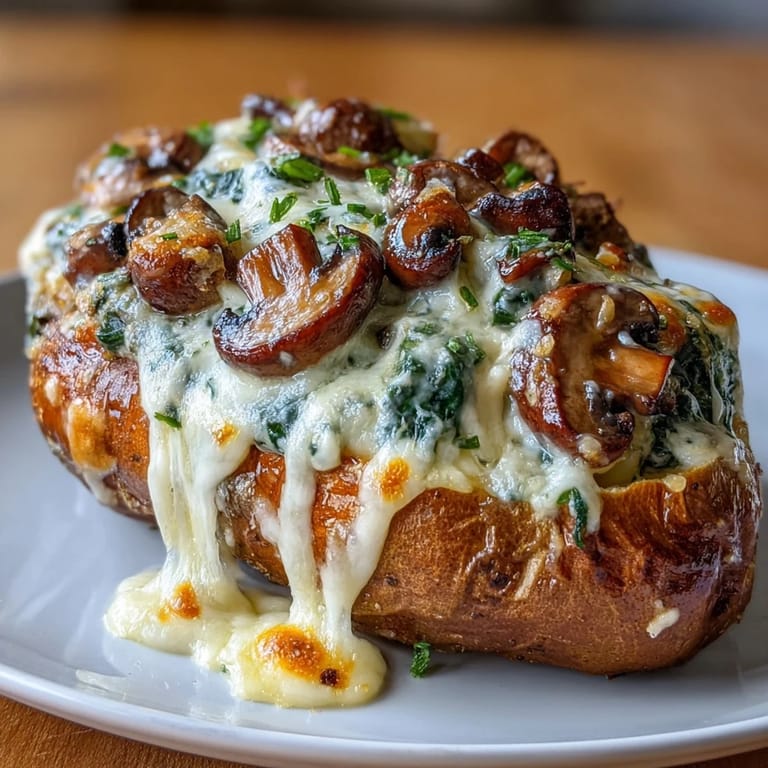
- Divide the filling between your two potato halves, piling it generously into each cavity. Sprinkle the remaining shredded cheese over the tops; it'll melt and turn golden.
- Final Bake:
- Return the stuffed potatoes to the oven for 10 to 15 minutes, just until the cheese is bubbly and turning golden brown at the edges. Don't skip this step even though the filling is already cooked—the cheese needs those few minutes to get properly melty and the whole thing benefits from one final kiss of heat.
 Zapisz
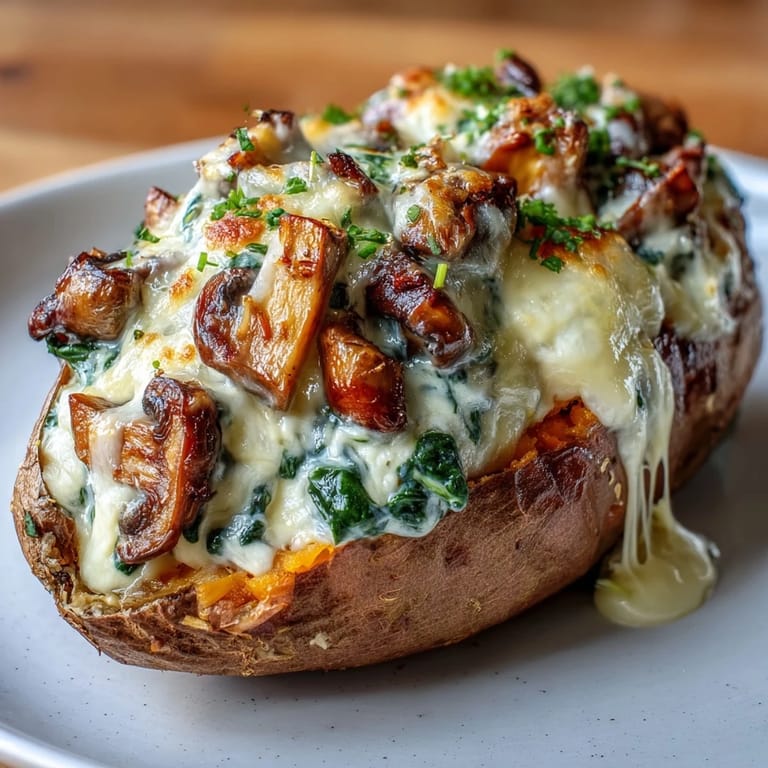
 The moment when you pull these out of the oven and the cheese is bubbling and your kitchen smells like roasted sweet potato and sautéed garlic—that's when this dish becomes more than a recipe. It's the kind of meal that makes you slow down and actually sit with what you're eating.
Flavor Variations That Actually Work
Once you nail the base recipe, playing with add-ins becomes genuinely fun. A pinch of smoked paprika added to the filling gives you this subtle depth that makes people pause and ask what's different. Fresh thyme stirred in right before filling the potatoes adds an herbal brightness that plays beautifully against the earthiness of the mushrooms.
Making This Work for Different Diets
Swap the cream cheese for Greek yogurt or ricotta if you want something lighter—it changes the texture slightly, making it less rich but more tang, which honestly works. For a completely dairy-free version, plant-based cream cheese and vegan shredded cheese work surprisingly well; just make sure you taste and adjust your seasoning because plant-based products sometimes taste flatter than the dairy versions.
Pairing and Serving Ideas
Serve these while they're still steaming, maybe with a crisp white wine or a fresh green salad on the side if you want to lighten the meal. They're equally good at room temperature if you're meal prepping, though they'll never be quite as indulgent as when they're hot.
- A squeeze of fresh lemon juice right before eating brightens everything up and cuts through the richness beautifully.
- Try chopped walnuts scattered on top for crunch—add them in the last few minutes of baking so they toast slightly.
- Leftovers keep for three days in the fridge and actually improve as flavors meld together.
 Zapisz
 This is the kind of recipe that becomes a reliable friend in your kitchen—something you make when you want to feel taken care of but also want to know exactly what's going into your body. Once you make it once, you'll make it again and again.
Najczęściej zadawane pytania dotyczące przepisów
- → Jak długo można przechowywać nadziewane bataty w lodówce?
Nadziewane bataty można przechowywać w szczelnym pojemniku w lodówce do 4 dni. Podgrzej je w piekarniku przez 10-15 minut w temperaturze 180°C, aby odzyskać chrupkość skórki i kremowy środek.
- → Czy można zamrozić gotowe danie przed pieczeniem?
Tak, nadziewane bataty można zamrozić przed drugim pieczeniem. Zawiń je tightly w folię spożywczą i przechowuj w zamrażarce do 3 miesięcy. Rozmrożone przed pieczeniem lub piecz prosto z zamrażalnika, wydłużając czas o 10-15 minut.
- → Jakie dodatniki pasują do tego dania?
Bataty świetnie komponują się ze świeżą sałatką z winegret, lekkim surówką z kapusty lub pieczonymi warzywami korzeniowymi. Jako dodatek proteinowy możesz podać grillowany kurczak lub pieczone tofu.
- → Czy można przygotować lżejszą wersję bez śmietankowego sera?
Zdecydowanie! Zastąp ser śmietankowy greckim jogurtem naturalnym lub serem ricotta. Użyj mniejszej ilości startego sera lub wybierz wersję light. Nadal uzyskasz kremową konsystencję przy niższej zawartości tłuszczu.
- → Jakie grzyby najlepiej sprawdzą się w nadzieniu?
Pieczarki brązowe (cremini) mają głębszy smak niż białe i świetnie się tu nadają. Możesz też użyć pieczarek portobello dla bardziej wyrazistego aromatu lub grzybów leśnych jak borowiki i kurki gdy są w sezonie.
- → O czym pamiętać przy wyborze batatów?
Wybierz bataty o podobnym rozmiarze, aby równomiernie się upiekły. Szukaj jędrnych, bez plam i uszkodzeń. Unikaj batatów z zielonymi przebarwieniami - mogą być gorzkie. Średnie bataty (ok. 300g) są idealne do indywidualnych porcji.